

Peel and stick backsplash review is one of the most searched topics for homeowners and renters looking for fast, affordable kitchen or bathroom upgrades. But do these popular stick-on tiles work as advertised, and what issues should you genuinely expect before you commit?
Key Takeaways
- Peel and stick backsplashes are booming due to affordability and DIY appeal but aren’t 100% durable in moist or high-heat areas.
- Top complaints include adhesion failures, removal hassle, and lower longevity compared to traditional tile—choose quality materials for best results.
- There’s limited data on costs, brand differences, and long-term results, so set expectations and test on your surfaces before a full install.
- What Is a Peel and Stick Backsplash, and Why Is It So Popular?
- Step-by-Step Guide: How to Choose and Install Peel and Stick Backsplash Tiles
- Advanced Analysis & Common Pitfalls
- Conclusion
- FAQ
What Is a Peel and Stick Backsplash, and Why Is It So Popular?
Peel and stick backsplash tiles are self-adhesive panels—usually vinyl or sometimes synthetic composites—that offer a temporary or easily-updated way to refresh kitchens or bathrooms without grout, messy adhesives, or construction dust. Their rise is driven by the popularity of hassle-free and reversible home upgrades, perfect for renters, property managers, and anyone on a tight schedule or budget.
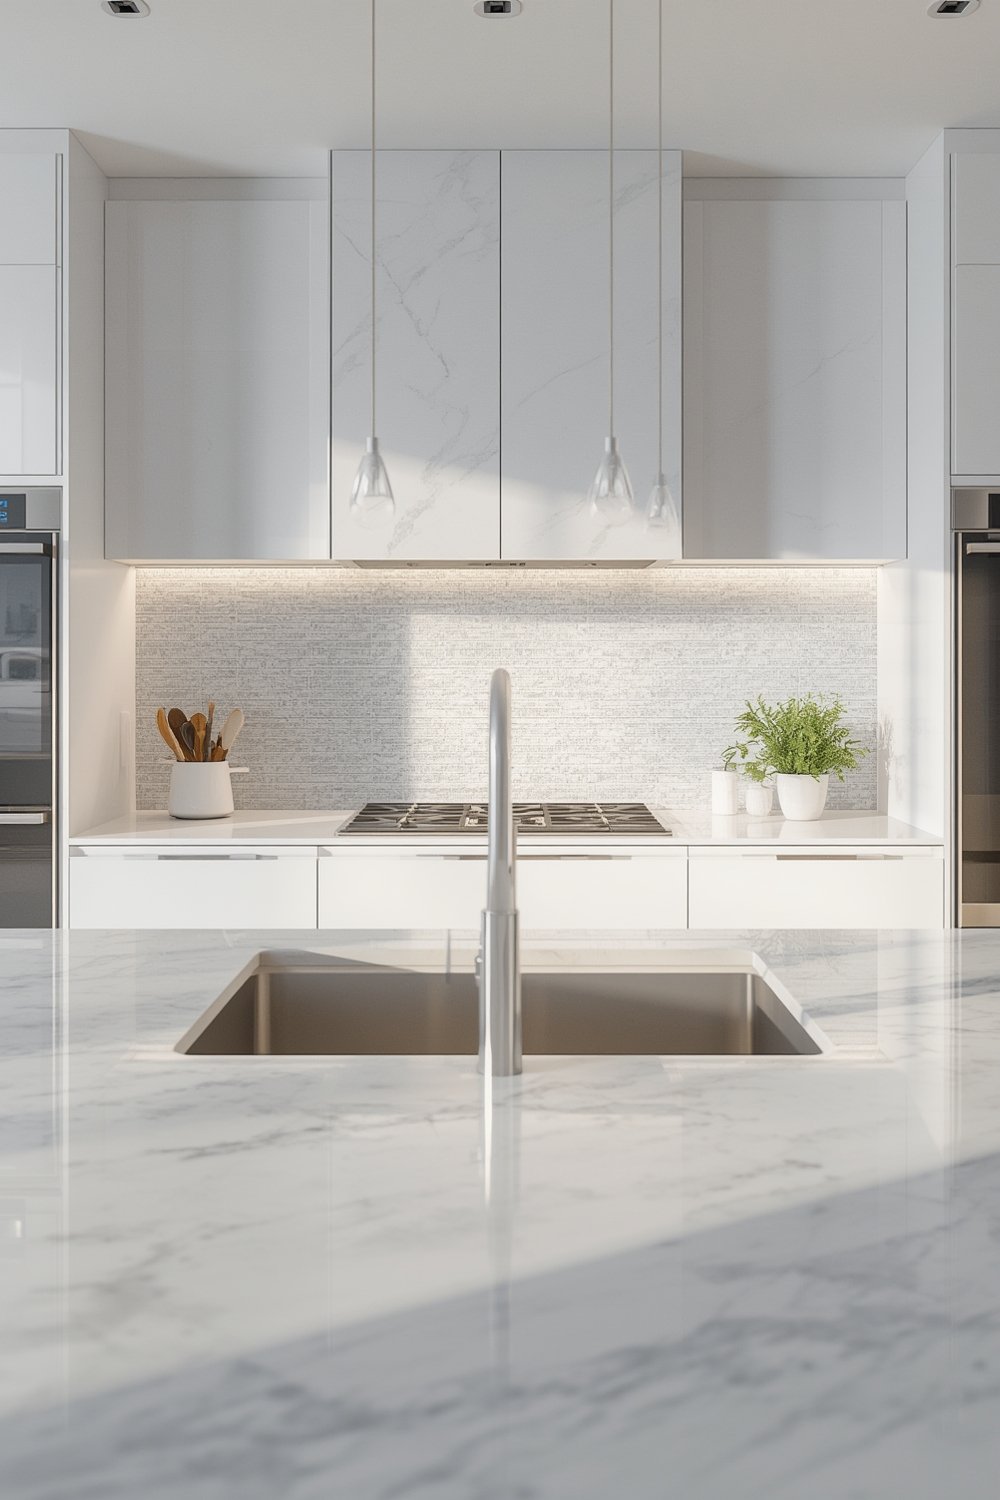
In 2024, the global peel and stick backsplash market reached USD 2.19 billion, with a projected CAGR of 7.8% to 2033, mainly due to urban homeowners and renters seeking DIY and budget-friendly improvements
(source). North America leads in market share, but Asia Pacific is growing the fastest as more people enter the middle class and value instant home upgrades.
Compared to classic tile and grout, stick-on tiles are easier to install, require fewer tools, and can be cut to fit most spaces. They’re especially appealing when you want to avoid a days-long renovation or the mess of tile removal.
However, these benefits come with real trade-offs in durability and finish quality. A quick install often means a shorter lifespan and more sensitivity to moisture or heat, so it’s not the right solution for everyone or every situation. If you prioritize quick, modern looks and the ability to change up your style or make repairs easily, quality materials peel and stick backsplashes are a serious option to consider. But set realistic expectations for performance, especially in steamy, high-traffic kitchens or bathrooms.
Step-by-Step Guide: How to Choose and Install Peel and Stick Backsplash Tiles
If you’re set on giving peel and stick tiles a try, success—or failure—often comes down to preparation and technique. Follow these steps for the best outcome:
- Measure Your Backsplash Area: Use a tape measure to calculate the total square footage needed, including odd-shaped sections. Don’t forget to order 10-15% extra for mistakes and trimming.
- Choose the Right Material: Look for vinyl or high-quality composites that emphasize water and heat resistance, especially for kitchen stoves or bathroom sinks. Mimic-stone or faux-metal finishes tend to perform better—avoid the cheapest options, as these can peel or blister quickly.
- Prepare the Wall Surface: Clean thoroughly with degreaser to remove oils and soap residue. The surface should be dry, smooth, and free from old paint flakes or bumps. Uneven or glossy walls often reduce adhesion.
- Test a Sample Tile: Stick a single tile in a hidden area for at least 24 hours to check adhesion and possible wall reactions, especially for renters.
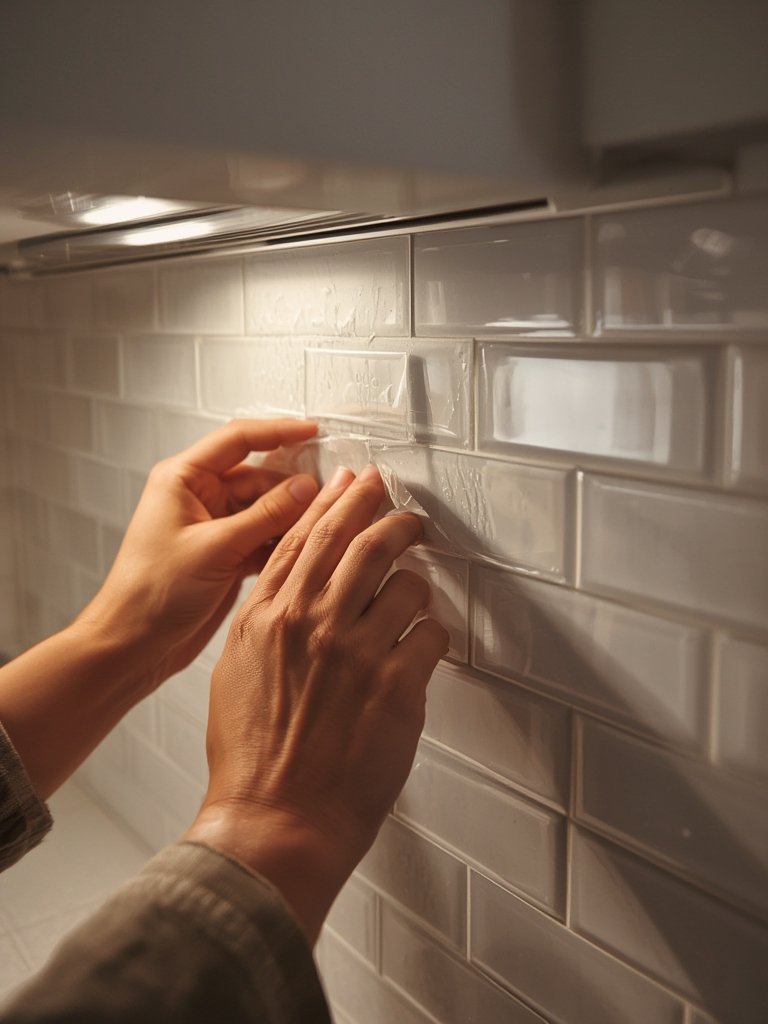
- Install Carefully: Start from the bottom center and work out and up. Peel backing slowly, smooth out air bubbles with a soft cloth or plastic squeegee, and trim edges neatly with a utility knife.
- Finish and Maintain: Press all seams firmly for a true seal. Avoid using harsh or abrasive cleaners, and never scrub directly on seams to prevent premature peeling.
Still looking for ways to make your DIY project even easier? Explore more time-saving solutions for easy-to-clean home textiles and other energy efficiency upgrades that cut maintenance and costs.
Need extra peace of mind in a rental or want true flexibility? Research tiles billed as “renter-friendly” and check real-world feedback on removability. Current reports suggest most premium adhesive formulas aim for residue-free removal (source), but long-term use still risks some paint or drywall pulling.
Advanced Analysis & Common Pitfalls
Peel and stick backsplash tiles solve several typical home improvement problems—no pro needed, fast install, and low mess. Yet, many users report avoidable frustrations. Before you start, understand what can actually go wrong:
Major Pitfalls and Issues
- Adhesion Failures: Moist areas (like behind stoves, above sinks, or around showers) weaken most glues. Even “water-resistant” vinyl may eventually peel, especially on rough or painted walls (source).
- Removal Trouble: Not all brands come off easily. Long-term installs or heavy humidity can cause adhesive to harden and damage drywall or paint during removal—especially in older apartments or after years in place.
- Longevity Concerns: Even the best stick-on tiles typically won’t last as long as grout-backed ceramic. Corners and seams may curl or pick up grime over time, and panels in high-traffic areas can look worn within 2–5 years.
- Inconsistent Visuals: Tiles cut in non-standard sizes or with visible seams can look artificial—not always delivering the “real” tile look unless carefully installed and lined up.
- Sustainability Doubts: Most budget stick-on tiles are made from non-recyclable plastics. Some premium products now use recycled content (source), but green credentials remain sparse overall.
How Do Peel and Stick Tiles Compare to Traditional Grout Tile?
| Feature | Peel and Stick Backsplash | Traditional Tile (Grout-Backed) |
|---|---|---|
| Installation Time | 1-3 hours, DIY-friendly | Several hours to days, pro recommended |
| Cost (2024 data) | Lower overall—no clear per sq ft costs available (source) | Higher material & labor costs |
| Visual Quality | Good, depends on quality and install | Excellent realism and durability |
| Long-Term Durability | 2-5 years typical; prone to peeling, curling | 10+ years, resists water and heat better |
| Removal/Reusability | Easy in theory—risk of wall damage after long install | Destructive—usually not reusable |
| Maintenance | No grout cleaning, just wipe | Requires grout sealing and cleaning |
| Suitability for Renters | High, if walls are prepped and not left up for years | Low—permanent |
Technical Differences: What Separates the Best from the Rest?
Premium peel and stick backsplashes now use thicker vinyl or composite layers, stronger low-VOC adhesives, and mimic high-end materials (stone, glass, metal). These upgrades boost heat and water resistance and even sustainability for some brands. In contrast, bargain options often lack firmness, use cheaper glues, and degrade quickly in kitchens and bathrooms.
Before you buy, check for real-world reviews and confirm if the brand you pick includes any certification for indoor air quality or claims enhanced resistance for your application.
For permanent value, you may want to consult a bathroom remodeling expert or weigh professional finishing options for your walls—especially in wet or high-traffic zones.
Unanswered Questions and Real Data Gaps
- No 2024 data on exact per-square-foot pricing or installed project costs—buyer beware; always measure and over-order slightly for full coverage.
- Brand removability promises aren’t always backed by user data. Some renters still report wall damage after a year or more, especially with cheap or aged adhesives.
- Quantitative stain, curling, and peeling rates are missing—set realistic assumptions and test before a full-room install.
If you want a more permanent and maintenance-free solution, explore advanced renovation strategies (like professional siding and wall upgrades) or look into proven, low-maintenance kitchen options such as organic modern kitchen upgrades.
Conclusion
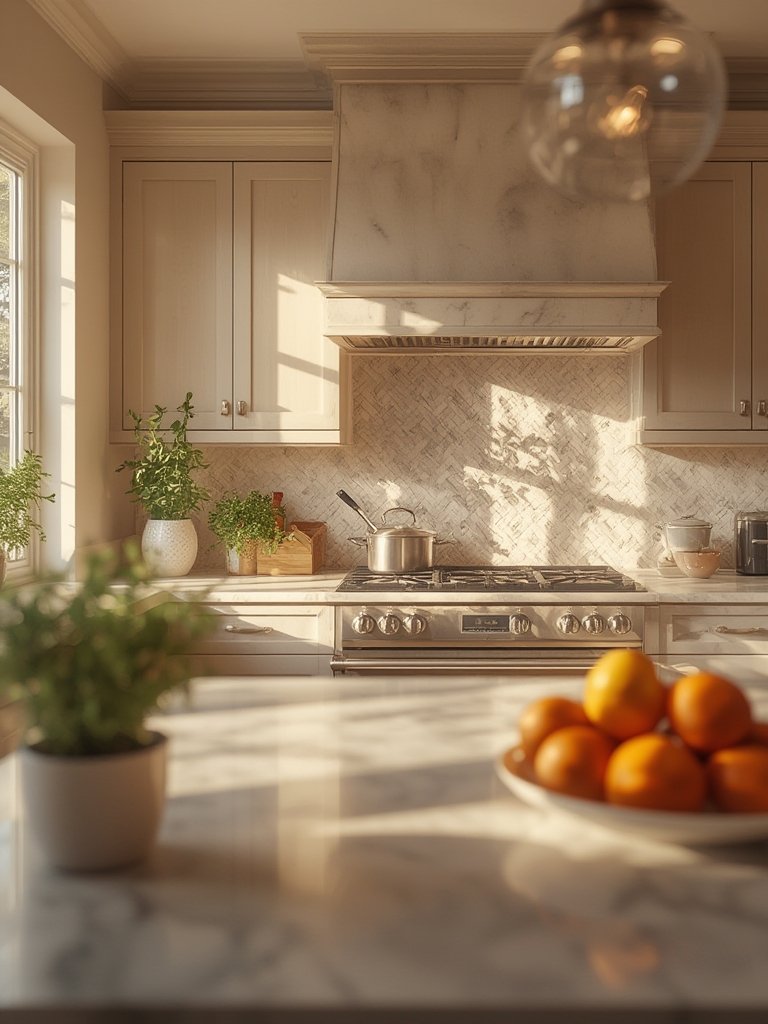
Peel and stick backsplashes excel for quick, affordable kitchen and bathroom updates—especially for renters or home sellers looking for a fast refresh. However, as this peel and stick backsplash review shows, you must be aware of the downsides: potential adhesion issues, limited lifespan in wet areas, and variable “removability.” Always choose quality materials, prep thoroughly, and don’t expect these solutions to last forever.
Ready to transform your space? Take care to test a small area before committing, and for more low-maintenance, renter-friendly tips, discover how to simplify cleaning or protect your home water. Start small, go slow, and enjoy your upgrade with confidence.
FAQ
Are peel and stick backsplashes truly removable without wall damage?
Most advertise clean removal, but in reality removal after a year or more—especially from drywall or over painted surfaces—may still cause minor damage or paint lift, particularly with cheaper brands.
How do peel and stick tiles hold up against steam and high moisture?
Even “moisture-resistant” vinyl products can start peeling in areas with constant steam or splashes. For stove backsplashes or bathrooms, invest in top-tier brands or consider traditional tile if durability is essential.
What’s the average lifespan for peel and stick backsplash tiles?
Most last 2–5 years depending on environment and cleaning routine. High-traffic, high-humidity locations may see issues even sooner, while dry, low-touch walls could see longer life.
Is there a difference between vinyl and other self-adhesive tile materials?
Yes—vinyl is the most popular for water/heat resistance and affordability. Some premium tiles mimic stone, metal, or glass, and may offer better realism. Cheap plastics tend to fail fastest.
Can peel and stick backsplashes be reused?
Almost never. Attempts to peel and reuse usually result in lost adhesive power and a curled, damaged tile.