

garage epoxy floor DIY kit projects are one of the most practical ways to upgrade your space, transforming dull concrete into a tough, cleanable surface that can handle vehicles, spills, and daily use. But before you jump in, it pays to know what really goes into the process, what the real costs are, and how to avoid costly mistakes most guides never mention.
Key Takeaways
- DIY epoxy kits cost less than professional installation, but require thorough prep and proper technique to avoid peeling or uneven results.
- Most failures come from poor floor prep—skipping this step means wasted time and materials.
- Hidden costs (like tools and cleaning supplies) can add up, so plan your budget beyond the kit’s sticker price.
- What Is a Garage Epoxy Floor DIY Kit and Why Bother?
- Step-by-Step Guide: How to Use a Garage Epoxy Floor DIY Kit
- Advanced Analysis & Common Pitfalls with DIY Garage Epoxy
- Conclusion & Best Practices
- FAQs
What Is a Garage Epoxy Floor DIY Kit and Why Bother?
A garage epoxy floor DIY kit is an all-in-one kit containing epoxy resin, hardener, optional decorative flakes, and prep chemicals to let a homeowner apply a long-lasting, chemical-resistant coating directly onto concrete. These kits turn a plain garage floor into a surface that stands up to hot tires, oil drips, tools, and household mess—something bare concrete can’t handle for long.
Demand and innovation for garage epoxy kits is accelerating. The global epoxy garage floor coating market is projected to reach $8.1 billion by 2034 (from $4.8 billion in 2025), with consumers asking for better durability, slick custom looks, and reduced environmental impact. Residential homeowners lead the way—driven by renovation and personalization trends, plus cool new options like metallic finishes and vinyl flakes from brands like Leggari Products (source).
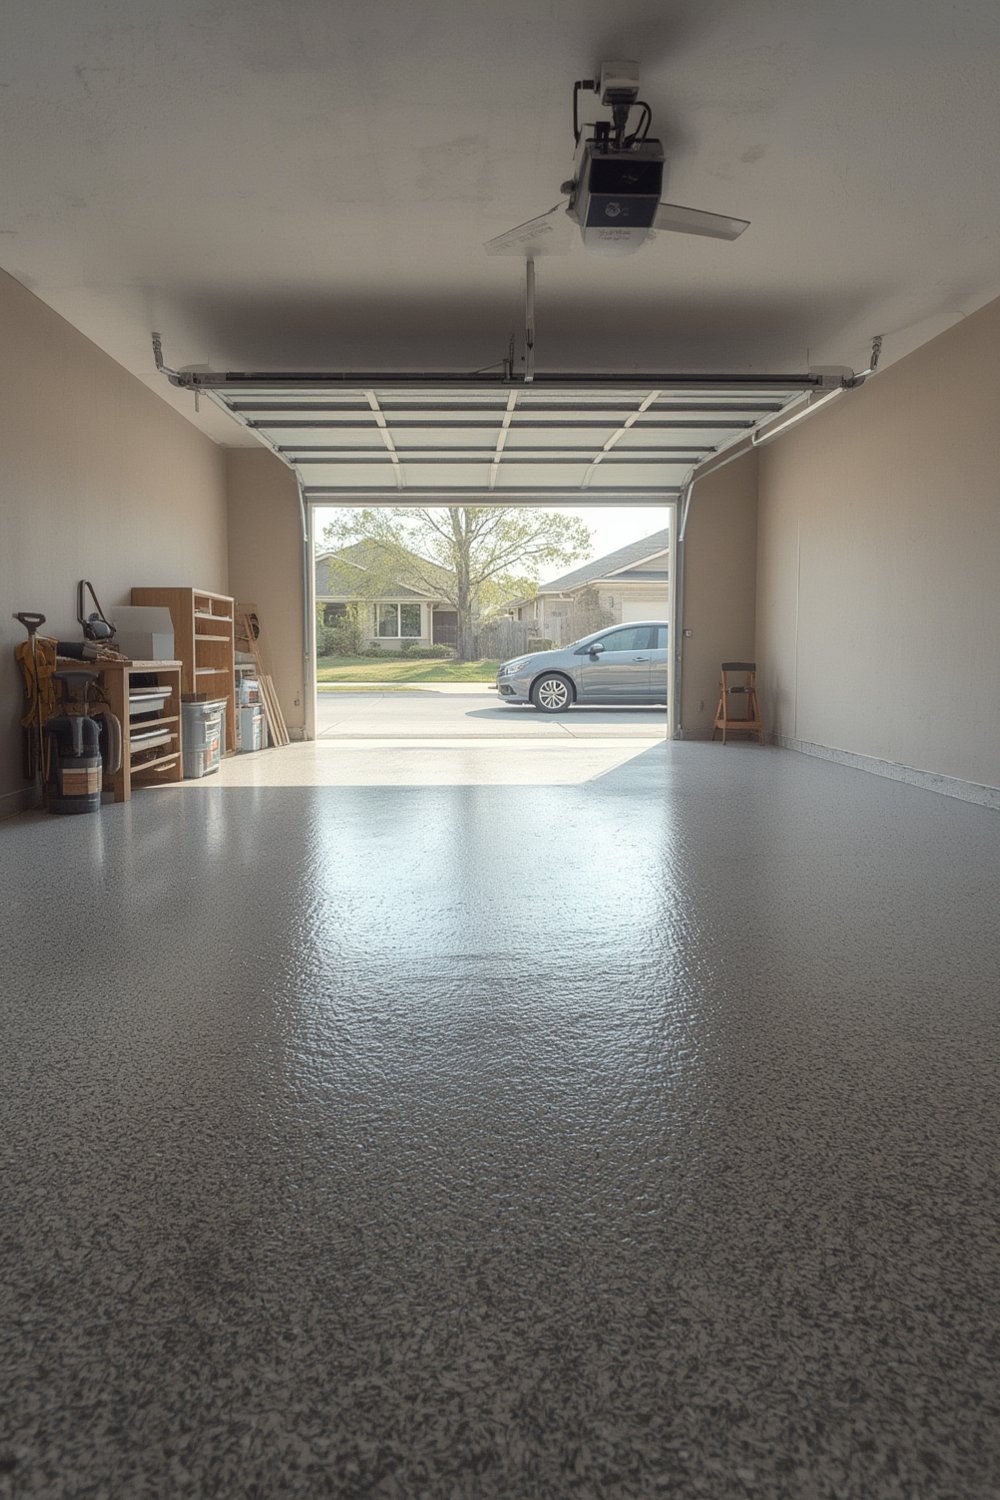
If you want a floor that looks good, helps light reflect for a brighter space, and shrugs off spills, a good DIY epoxy kit is your answer—if you put the work in.
Step-by-Step Guide: How to Use a Garage Epoxy Floor DIY Kit
Applying a garage epoxy floor DIY kit isn’t just a quick paint job—the difference between a pro look and peeling failure is in the prep and patience.
-
Clear Out and Clean Thoroughly
Move everything out—really, everything. Sweep, then use a degreaser to remove oil, antifreeze, or other automotive stains. Even slight residue prevents adhesion. Don’t just rely on the included cleaner—sometimes commercial concrete degreasers or TSP (trisodium phosphate) are needed for stubborn spots. -
Fix and Etch the Concrete
Patch cracks or crumbling spots with an epoxy-compatible concrete repair kit. Skip this and the finish will telegraph every flaw. Next, etch the concrete (usually with a diluted acid) to open up pores—critical for epoxy to soak in. Wear gloves, eye protection, and fully ventilate. -
Rinse and Dry…Then Dry Again
Rinse aggressively to remove every trace of acid, cleaner, or dust. Water must fully evaporate—use a leaf blower or fan if needed. Test dryness by taping a plastic sheet and checking for condensation in 24 hours. -
Mix Epoxy Exactly as the Instructions State
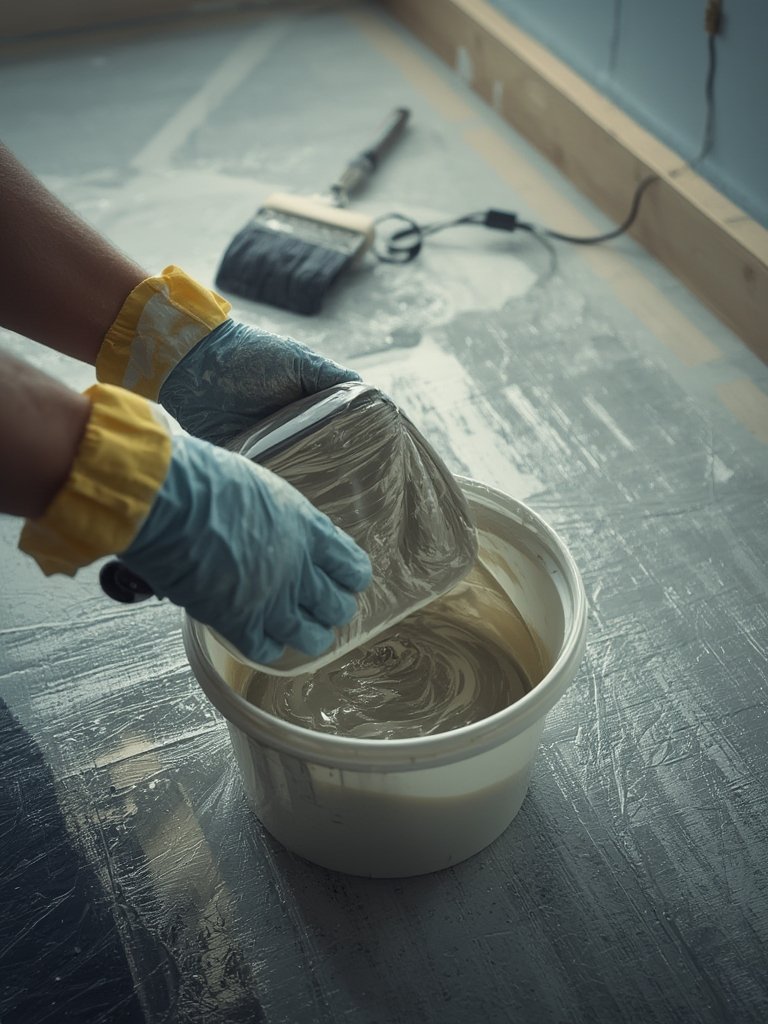
Combine base and hardener only in batches (they start curing fast). Mix thoroughly—scrape sides and bottom. Don’t mix more than you can apply in 30–40 minutes. -
Apply Primer Coat (if included)
Some premium kits include a separate primer—you’ll get much better results if you use one. -
Roll Out Epoxy Evenly
Starting farthest from the exit, roll the epoxy in small sections. Maintain a consistent film—thick blobs cure unevenly, thin spots wear out fast. Sprinkle flakes while the epoxy is still wet for visual effect and slip resistance. -
Allow Proper Cure Time
Respect the stated cure time—usually 16–24 hours before foot traffic, and 3–7 days before parking a car. Rushing it will ruin all your work.
-
Clean Up and Inspect
Remove tape, inspect edges, touch up as needed. Don’t move heavy items back until the floor is fully cured.
Maintaining the finished floor is simple: sweep regularly, mop spills, and avoid scraping with sharp edges. For a guide to other easy-clean home surfaces, check out tips on machine-washable rugs for messy zones.
Advanced Analysis & Common Pitfalls with DIY Garage Epoxy
Garage epoxy floor DIY kits are not all created equal. Recent industry market research shows the market for these kits is booming (global epoxy flooring market data), but that growth also means a lot of variability in kit quality, coverage, and hidden costs.
COST COMPARISON: DIY Epoxy Kits vs. Pros
| Garage Size | Sq Ft | DIY Kit Cost Range* | Pro Install Range* |
|---|---|---|---|
| 12×22 (1-car) | 264 | $800–$3,200 | $1,200–$4,000 |
| 18×20 (2-car) | 360 | $1,100–$4,300 | $1,800–$4,500 |
| 32×22 (3-car) | 704 | $2,100–$8,400 | $3,500–$10,000+ |
*Source: Pro Tool Reviews
DIY often saves on labor, but beware of hidden costs: surface prep tools, specialized cleaners, safety gear, and multiple kits for larger spaces. Kits may not include enough material for a full second coat, which is often needed for best results. For more tips on reducing project expenses, check out advice on cutting costs in big home upgrades.
Most Common Pitfalls and How to Avoid Them
- Inadequate Prep: The floor must be spotless, oil-free, and etched. Skipping acid etching or failing to completely rinse and dry the surface is the #1 cause of failed adhesion and peeling.
- Moisture Issues: Hidden moisture in the concrete will cause bubbles, blisters, and peeling. Always perform a condensation test before starting.
- Poor Mixing and Application: If resin and hardener aren’t thoroughly blended, the epoxy will never fully cure. Working in sections and mixing smaller batches prevents rushed, uneven results.
- Cheap Kits with Inferior Chemistry: Not all products offer true two-part epoxy—some are “one-part” paints that mimic epoxy but won’t last. Genuine epoxy will mention “two-component” or similar terms and list both A & B components.
- Ignoring Cure Times: Re-entering or parking too soon ruins the finish. Allow at least 3 days before driving on the surface, even if the kit advertises less.
- Temperature Extremes: Application during chilly or humid weather leads to slow curing and weak bonding.
If you want a low-maintenance finish elsewhere, or need ideas to keep floors safe in other rooms, check out guides to non-slip rug pads and residential siding that stands up to the elements.
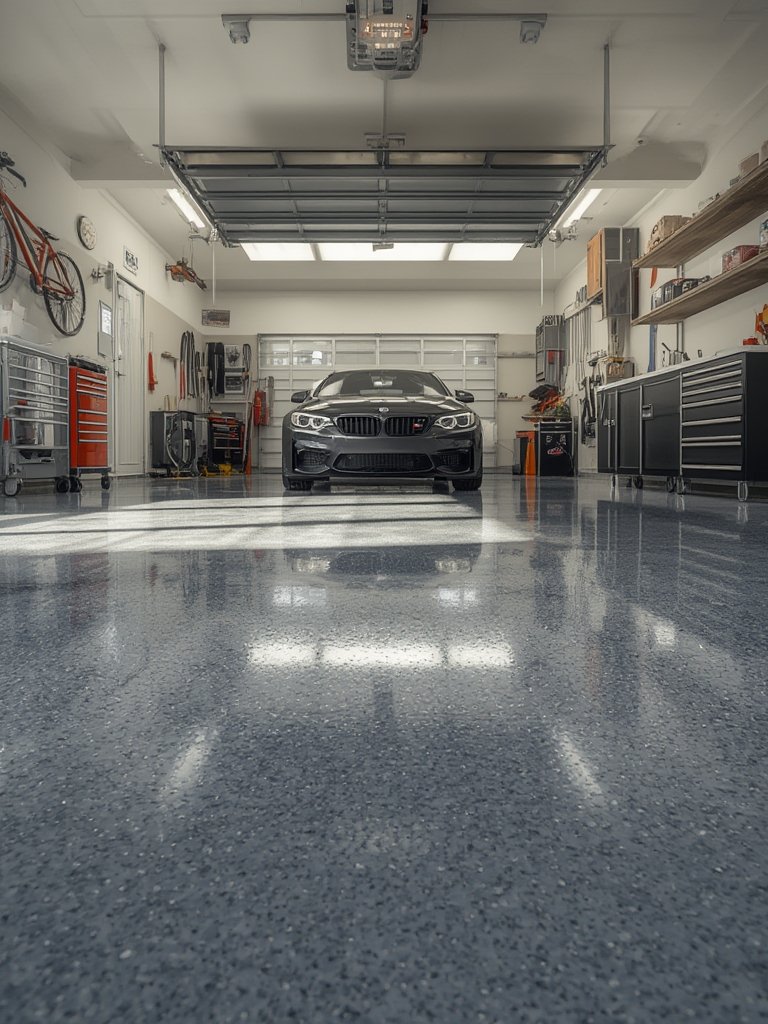
Be realistic—DIY epoxy floor installation isn’t a “quick weekend” win. It pays for itself in the long run only if you ace the prep and respect the process.
Conclusion & Best Practices
A garage epoxy floor DIY kit packs a real punch—for less than hiring a pro, you can achieve a smooth, high-gloss finish that resists spills and looks sharp for years. But the secret is method: cutting corners on cleaning and prep easily leads to peeling, bubbling, or uneven coverage. Always budget extra for unanticipated supplies and prep, choose a two-part epoxy kit with good reviews, and never rush your work. If you want long-term payoff, patience and precision are non-negotiable.
Ready to transform your garage? Choose your garage epoxy floor DIY kit carefully, prep your space methodically, and enjoy a floor that earns compliments for years. For more ways to maximize value and comfort in every corner of your home, check out reviews on energy-efficient upgrades you can DIY.
FAQs
How long does it take to apply a garage epoxy floor DIY kit?
The prep and cleaning usually take a full day, while application takes 2-4 hours per coat. Allow at least 24 hours before light foot traffic and 3-7 days before parking a car.
What are the most common mistakes with DIY epoxy floors?
The biggest issues are skipping etching, not removing all oil or dirt, failing to patch cracks, or applying in the wrong temperature or humidity range. These lead to poor adhesion or peeling.
How do I know if my concrete is ready for epoxy?
After cleaning and etching, tape a 1×1 foot plastic sheet to the floor for 24 hours. If no condensation forms underneath, you’re good to go.
Can I apply epoxy over a previously painted or sealed floor?
No—epoxy will not bond properly to paint or sealed surfaces. All old coatings must be fully removed by grinding or chemical stripping.
How do garage epoxy floor kits differ from regular paint or sealers?
Real epoxy kits are two-part systems that chemically cure for maximum durability and resistance. Paints and sealers typically air-dry and are much less durable.