

Mini split AC DIY installation is one of the hottest ways homeowners are cutting cooling costs—if you get it right. It sounds simple, but the reality is complex. Before you pick up your tools, you need to know the true costs, common mistakes, and technical roadblocks others don’t tell you about. Here’s the full, data-backed guide to getting your project done safely and (actually) saving money.
Key Takeaways
- DIY mini split AC installation can save $700–$3,000 in labor, but hidden costs and code issues mean actual savings vary.
- Improper install risks leaks, electrical hazards, and warranty loss—most problems happen from skipped steps or code violations.
- Performance matches pro installs only if you strictly follow all instructions, use the right tools, and pass local inspections.
- What Is DIY Mini Split AC Installation and Why Do It?
- Step-by-Step Guide: Installing a Mini Split AC Yourself
- Advanced Analysis & Common Pitfalls
- Conclusion
- FAQ
What Is DIY Mini Split AC Installation and Why Do It?
DIY mini split AC installation means purchasing and installing a ductless heat pump system on your own—without hiring a pro. The main appeal? Serious cost savings on labor and the power to cool (or heat) only the rooms you use.
Unlike central air, mini splits let you zone your home for better comfort and energy efficiency. DIY-focused brands like MrCool and Pioneer ship self-install kits with pre-charged refrigerant lines and plug-in options, eliminating the need for certified HVAC techs—at least on paper. Still, real-world installs involve drilling, high-voltage connections, working at heights, and code compliance that can trip up even confident DIYers.

Bottom line: DIY mini split installs are about more than just saving money up front—you must understand what you’re responsible for, or the risk can outweigh any benefit.
Step-by-Step Guide: Installing a Mini Split AC Yourself
- Calculate your BTU needs and select a DIY-friendly mini split kit.
Choose a system with pre-charged/refrigerant lines and plug-in electrical that matches your home’s circuit capacity. Double-check SEER ratings for maximum efficiency.
(Source) - Gather all necessary tools and materials:
- Drill, hole saw (3–3.5 inch), torque wrench, manifold gauges, vacuum pump, sturdy ladder, level.
- Pre-charged line set, wall bracket, electrical whip or plug-in cord, condensate drain hose, PVC or suitable drain piping.
- Plan your mounting location and route for lines:
Find an exterior wall with direct access, no hidden plumbing, and at least 6 inches of clearance. Avoid areas exposed to direct rain or heavy sun, which can affect efficiency. - Install wall bracket, drill pass-through hole, and hang indoor unit:
Use a level and solid wall anchors. Double check that your lines (power, refrigerant, drain) will fall freely without kinks. - Route refrigerant lines and drain—seal all penetrations:
Stick to the pre-charged length—DIY lines cannot be cut or spliced. - Mount and wire the outdoor condenser:
Place on a stable pad (avoid direct soil contact). Connect lines, ensuring snug torque to prevent leaking. - Connect electrical to a dedicated circuit per code:
Only use existing power outlets dedicated for high-voltage loads or hire a licensed electrician for new circuits. NEC code Article 440 applies. (Electrical code details) - Evacuate the system and pressure test (if required):
Some kits need a vacuum pump or professional gauges to remove air/moisture—critical to avoid compressor failure! - Power up, run test cycles, and check for leaks or noise:
Make sure all condensate drains freely and the unit cycles properly in both cool and heat modes.
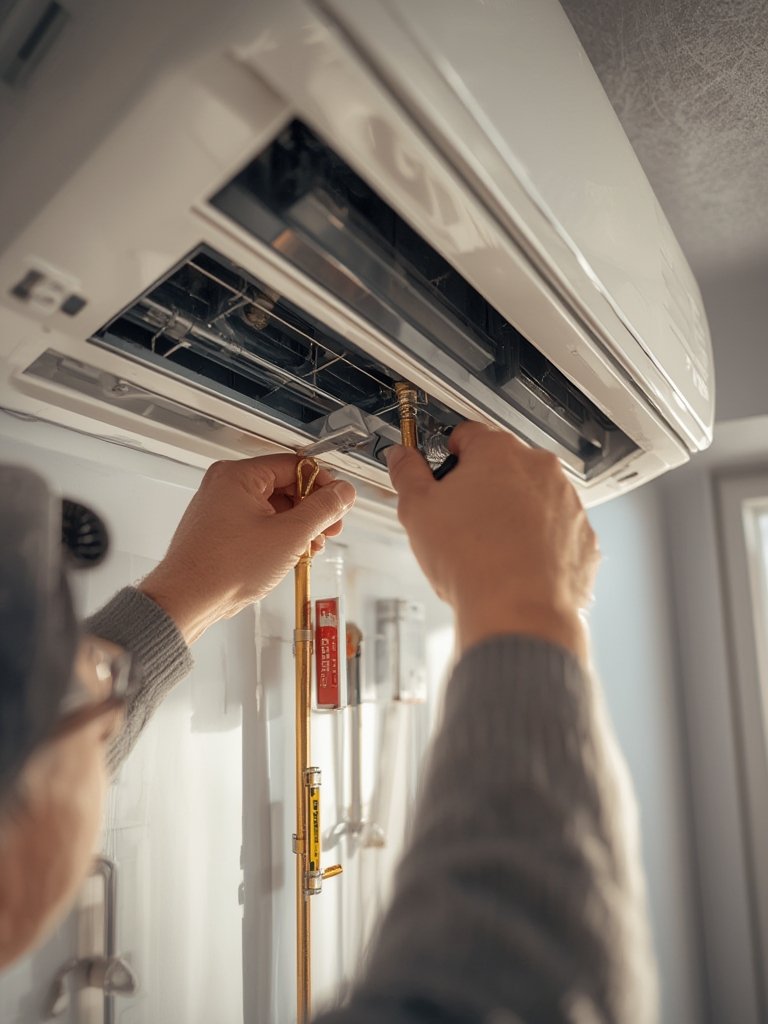
If your electrical panel is already maxed out or you can’t confirm a 15 or 20 amp dedicated breaker, stop and call an electrician. Cutting corners here creates fire risks and illegal installs.
Finally, schedule any required inspections or permits before using the system. Some regions won’t allow DIY electrical or refrigerant work—check your town’s website or building department for clarity.
Advanced Analysis & Common Pitfalls
Even “easy” DIY kits trip up experienced handymen and homeowners. The five most reported mistakes are:
- Refrigerant Leaks: Poor connections, kinked lines, or failing to follow proper torque specs can cause slow leaks—sometimes only detected after hours of cooling loss. Fixing this usually demands a licensed HVAC tech and nullifies your cost savings.
- Electrical Hazards: Mistaking mini splits as plug-and-play often leads to overloaded circuits, double tapping breakers, or improper ground connections. This creates significant shock and fire risks and may violate building code.
- Poor Drainage: Improperly routed or pitched condensate lines cause interior leaks or even mold and water damage—especially if you skip insulating the drain in humid climates.
- Unstable Mounts: A poorly leveled or insecure wall bracket leads to vibration, noise, and faster equipment wear. Multi-zone units are especially prone to stress if support is uneven.
- Routing Errors: Cutting corners and routing refrigerant/electrical lines through improper areas (like plumbing chases, unshielded exterior runs) leads to condensation, noise, and potential code violations.
| Installation Type | DIY Equipment Cost | Professional Total Cost (incl. Labor) | Key Hidden Costs |
|---|---|---|---|
| Single-Zone | $500–$5,000 [source] |
$2,500–$6,000 [source] |
Permits $250–$400, Electrical $250+ [source] |
| Dual-Zone | $2,000–$5,000 | $4,500–$8,000 [source] |
Labor $700–$3,000 [source] |
| Multi-Zone (3+) | $3,200–$14,500 [source] |
$6,500–$15,000+ [source] |
Additional zones $700+, Upgrades $50–$280 [source] |
Low-cost DIY kits make it tempting to skip permits or code compliance, but beware: warranty coverage may be denied if you deviate even slightly from the manual or don’t use qualified trades for electrical connections. MrCool claims to honor warranties for proper DIY installs, but brands vary—always check before cutting open the box. For mainstream HVAC systems, most manufacturers void coverage unless installed by a licensed pro.
For more on upgrading your home’s efficiency safely, see our comprehensive energy efficiency upgrades guide.
In addition to technical risks, remember: performance and ROI data for DIY-installed mini splits is still murky. Independent lab comparisons are rare. Manufacturers highlight top-tier SEER ratings, but real energy savings depend on installation quality, usage patterns, and climate. Verified user savings range from about $120/month on summer bills, especially if replacing traditional central AC and only conditioning rooms you actually use.
(Source)
To further explore ways to upgrade your home with cost-saving improvements that pair well with mini splits, check out our Garage Epoxy Floor DIY Kit guide and Home Depot Fence Installation strategies.
Conclusion
Mini split AC DIY installation can unlock significant cost savings and long-term energy efficiency—if you approach it with caution, preparation, and total honesty about your skills. Don’t rush—most problems and expenses arise from trying to shortcut code, safety, or basic physics. If you hit a wall or face a step you’re not confident on, bring in a professional for that phase. This approach protects your home, your investment—and your warranty.
Ready to take the next step? Compare your options carefully, research local permit rules, and use this guide as your step-by-step reference for successful mini split AC DIY installation. If you want more ways to maximize your home’s comfort and value, explore resources on energy efficiency upgrades and other proven DIY projects.
FAQ
Does DIY mini split installation void the manufacturer’s warranty?
Most major brands void warranties without a licensed installer. However, some lines like MrCool allow warranty retention if you follow instructions exactly. Always verify with the manufacturer before starting.
Can I install the electrical for my mini split myself?
You can connect plug-in models to existing dedicated circuits, but installing new 220V circuits must be done by a licensed electrician in most areas for safety and code compliance.
How much can I actually save by DIY installing a mini split?
Typical savings are $700–$3,000 in labor per zone, but hidden costs like permits, tools, or electrical upgrades reduce net savings. Factor in risks and possible rework fees if mistakes happen.
What’s the most common mistake in mini split AC DIY installation?
The most frequent issues are improper handling of refrigerant lines (causing leaks) and overloaded or unsafe electrical connections. Follow every step carefully and do not skip pressure or vacuum checks.
How does a DIY mini split compare to central AC for operating costs?
Mini splits can save 20–40% over traditional systems thanks to zone control and higher SEER ratings. Actual savings depend on home insulation, climate, and if you avoid running unused zones.